Train Station Guide
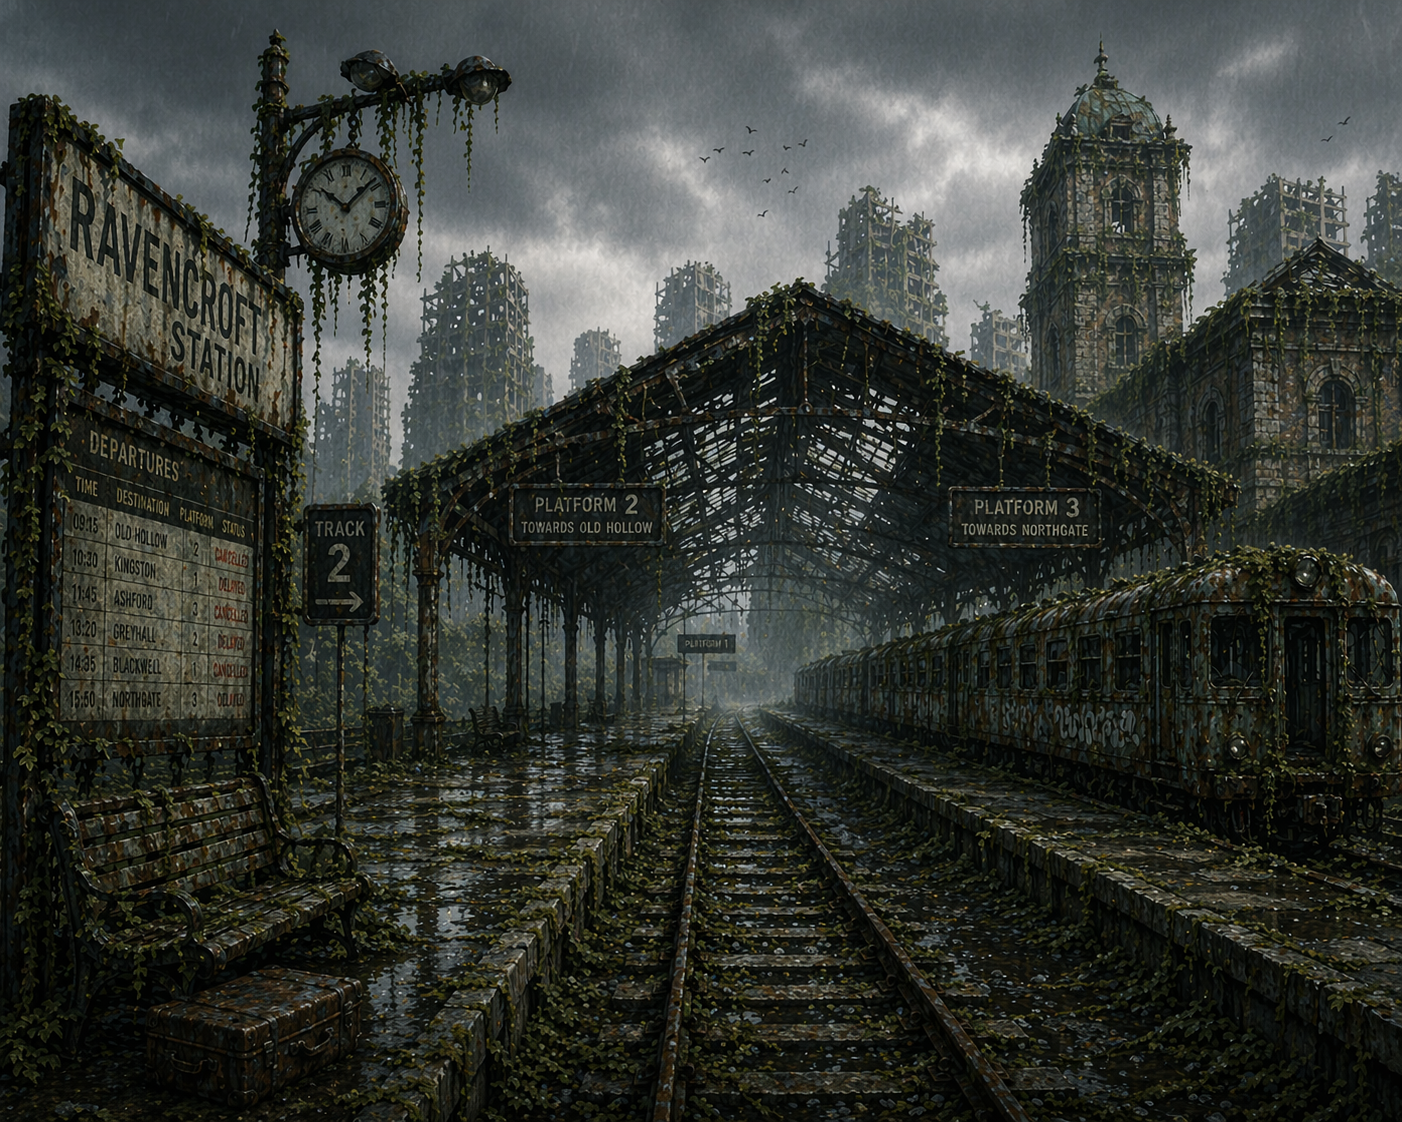
Train stations are structured high-value ruins. They combine dense loot potential with repeat encounter pressure and should be approached as planned operations.
Station Layout Basics
Station clusters are generated near railroad-adjacent space and commonly include district-style sub-areas such as:
- waiting room
- platform
- parking lot
- warehouse/storage edges
The result is mixed cover, mixed sightlines, and mixed threat pacing in one location.
Station facts
- Number: each world has 5–10 train stations along the railroad.
- Size: each station is 3–6 tiles:
- exactly one waiting room, one platform and one parking lot;
- plus 0–3 warehouse tiles (stations larger than 3 tiles).
- Station content:
- its own scavenge objects (gather on them; they use charges that refill over time);
- survey and search rewards;
- district looting;
- local hazards.
- Full tables: Ruins & Station Scavenging.
- Station events: 4 station biome events, such as Platform Bottleneck. See Biome Events.
- Station encounters: dispatchers and looters.
- Cover: some station cover in combat can shelter two fighters.
Why Stations Are Strong Targets
Stations are good when you need:
- concentrated scavenging opportunities,
- route pivot points near rail lanes,
- a single stop that can satisfy multiple supply gaps.
They are bad as random detours when injured or overloaded.
Operation Plan for a Station Run
- secure the perimeter and identify exit lanes,
- clear or avoid immediate hostiles,
- hit high-value interiors first,
- only then move to bulk salvage,
- leave before fatigue/weight kills your reaction speed.
This is an objective raid, not an open-ended looting session.
Encounter Management
Station event systems use cooldown and repetition controls, which creates wave-like pressure over time. The longer you stay, the more likely your risk curve climbs.
Practical implication:
- short, focused visits outperform long greedy ones.
Best Build and Inventory Profile
Bring:
- controlled carry capacity (not maxed before entry),
- enough healing for one bad chain encounter,
- repair margin if weapon/tool condition is borderline,
- one fallback food/water layer.
If your bag is already near full on arrival, skip deep station search.
Common Mistakes
- entering without map/route context,
- looting low-value bulk first,
- staying through rising encounter pressure,
- attempting station clears as emergency stops with no sustain.
Practical Rule
If you cannot clear, loot, and extract in one disciplined cycle, postpone the station run.