Ruins District Guide
Ruins are divided into district types, and district identity should drive your expedition plan. Entering the wrong district with the wrong loadout is one of the fastest ways to lose momentum.
District Facts
Every ruins and Veyr tile belongs to one of 14 districts:
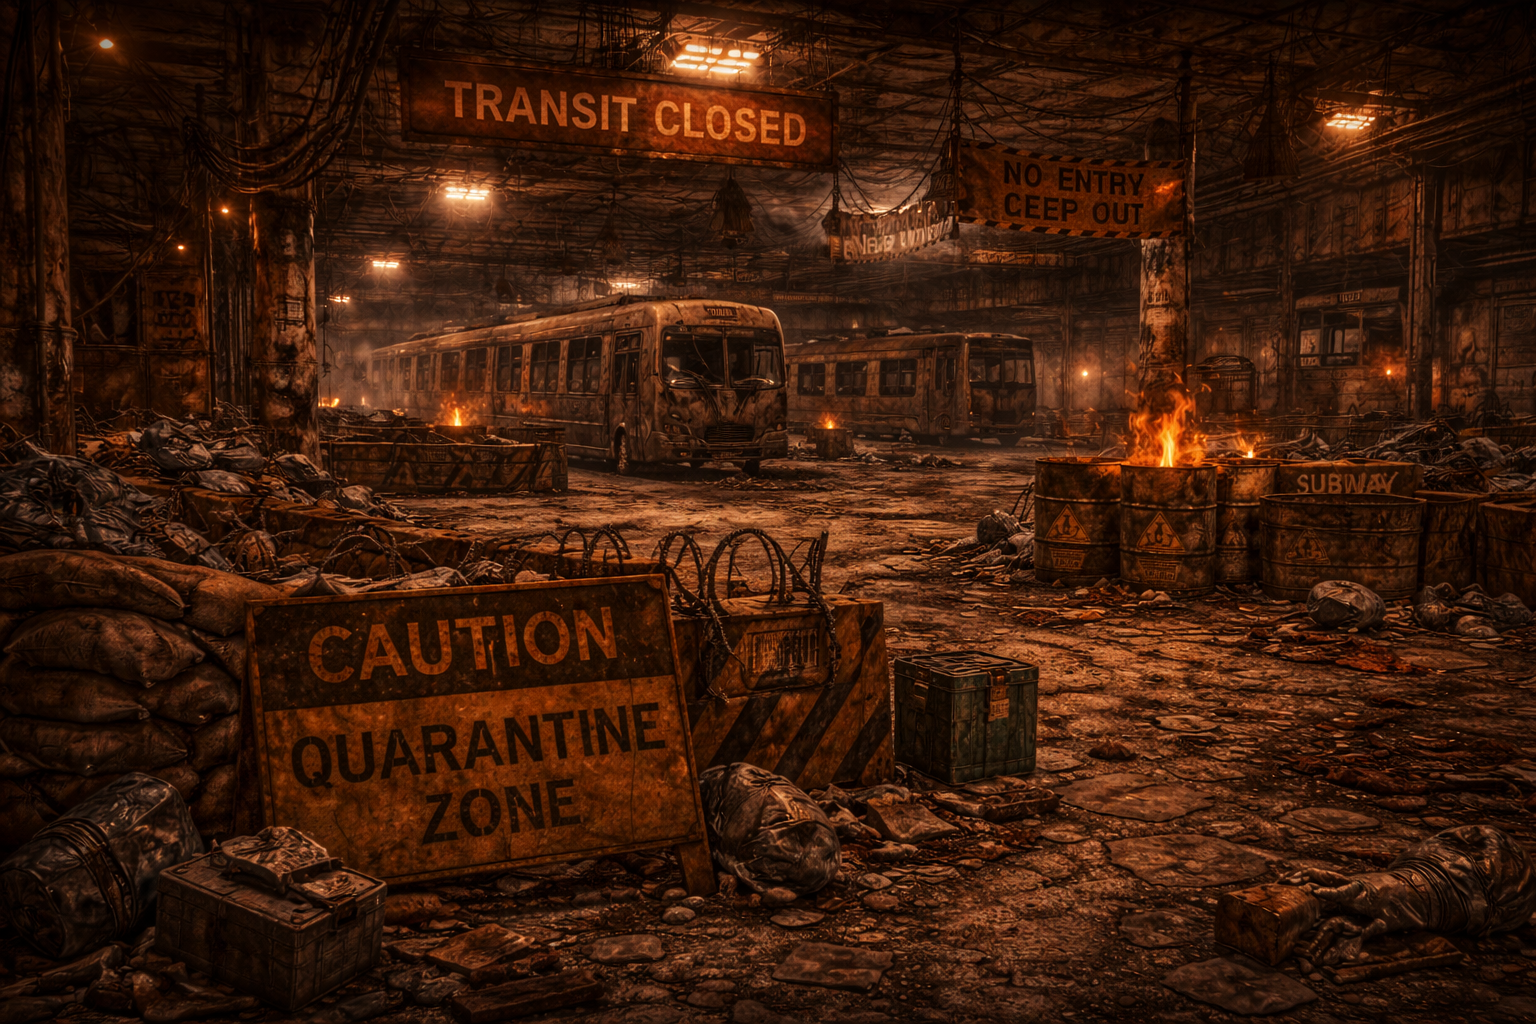
Residential · Hospital · Industrial · Military · School · Government · Commercial · Transit · Utility · Police · Fire · Research · Entertainment · Religious
Each district has its own:
| Feature | Example |
|---|---|
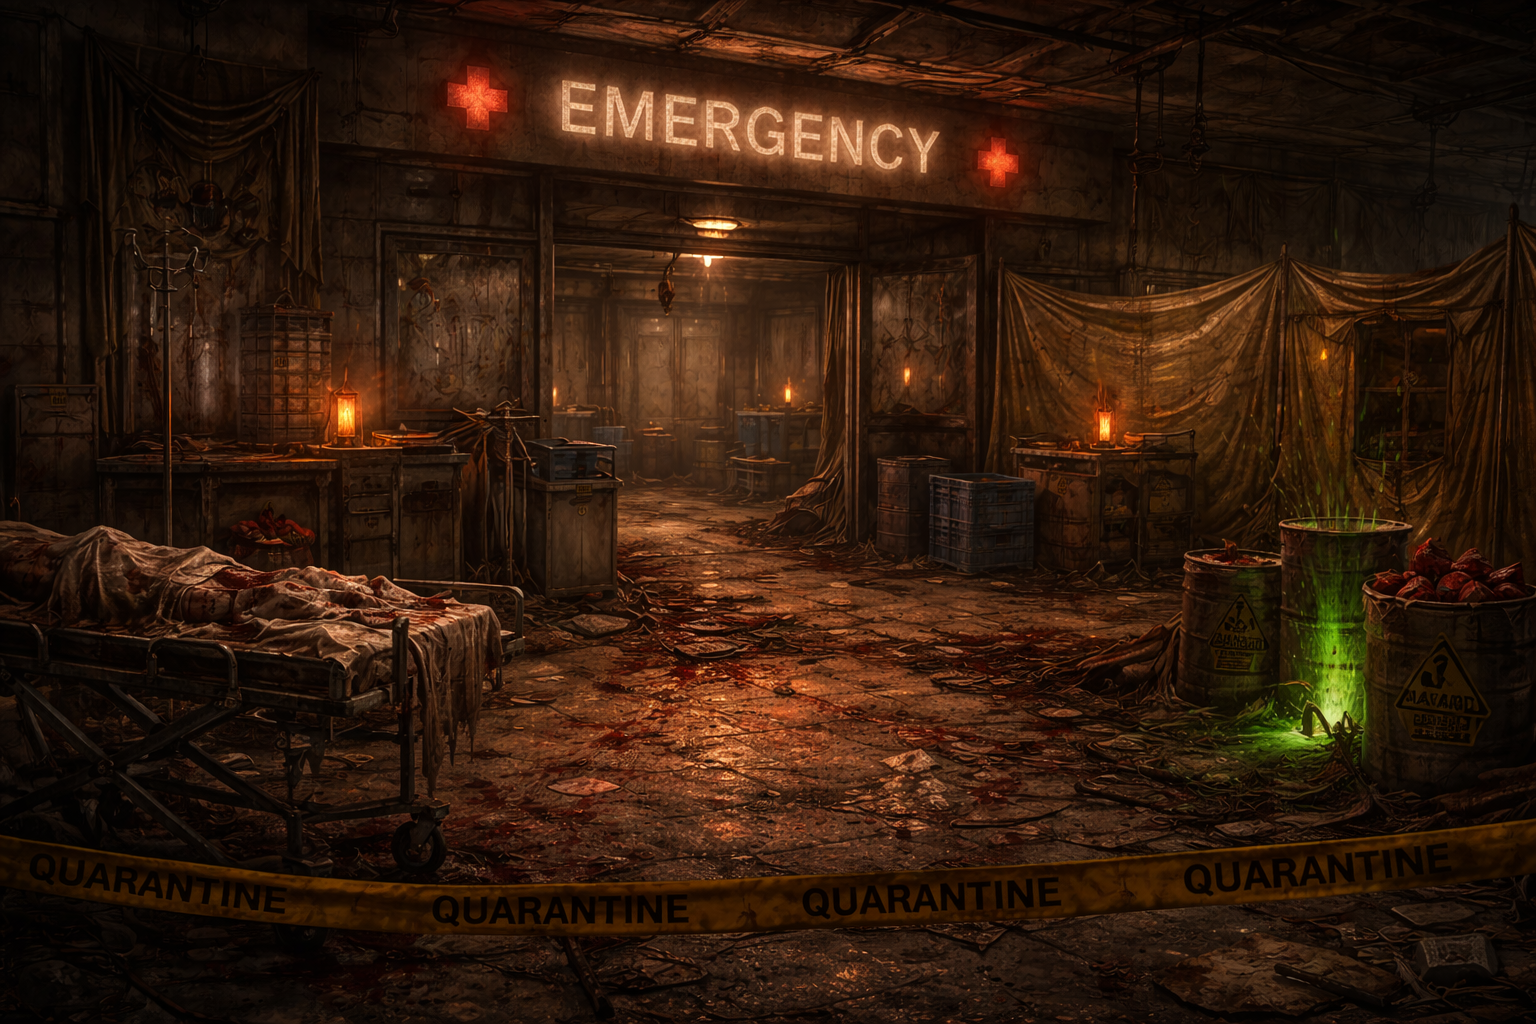
| Typical sites | Hospital: field hospital, laboratory, pharmacy, bunker. Industrial: workshop, assembly plant, electronics store, gas station |
| Scavenge objects and loot focus | Utility: transformer coils, service fuses, copper wire, electronics |
| Site events (16–28% per site explore, higher at greater depth) | Residential: sealed cellar pantry, memory box. Hospital: supply closet |
| Search events | District-specific finds and hazards |
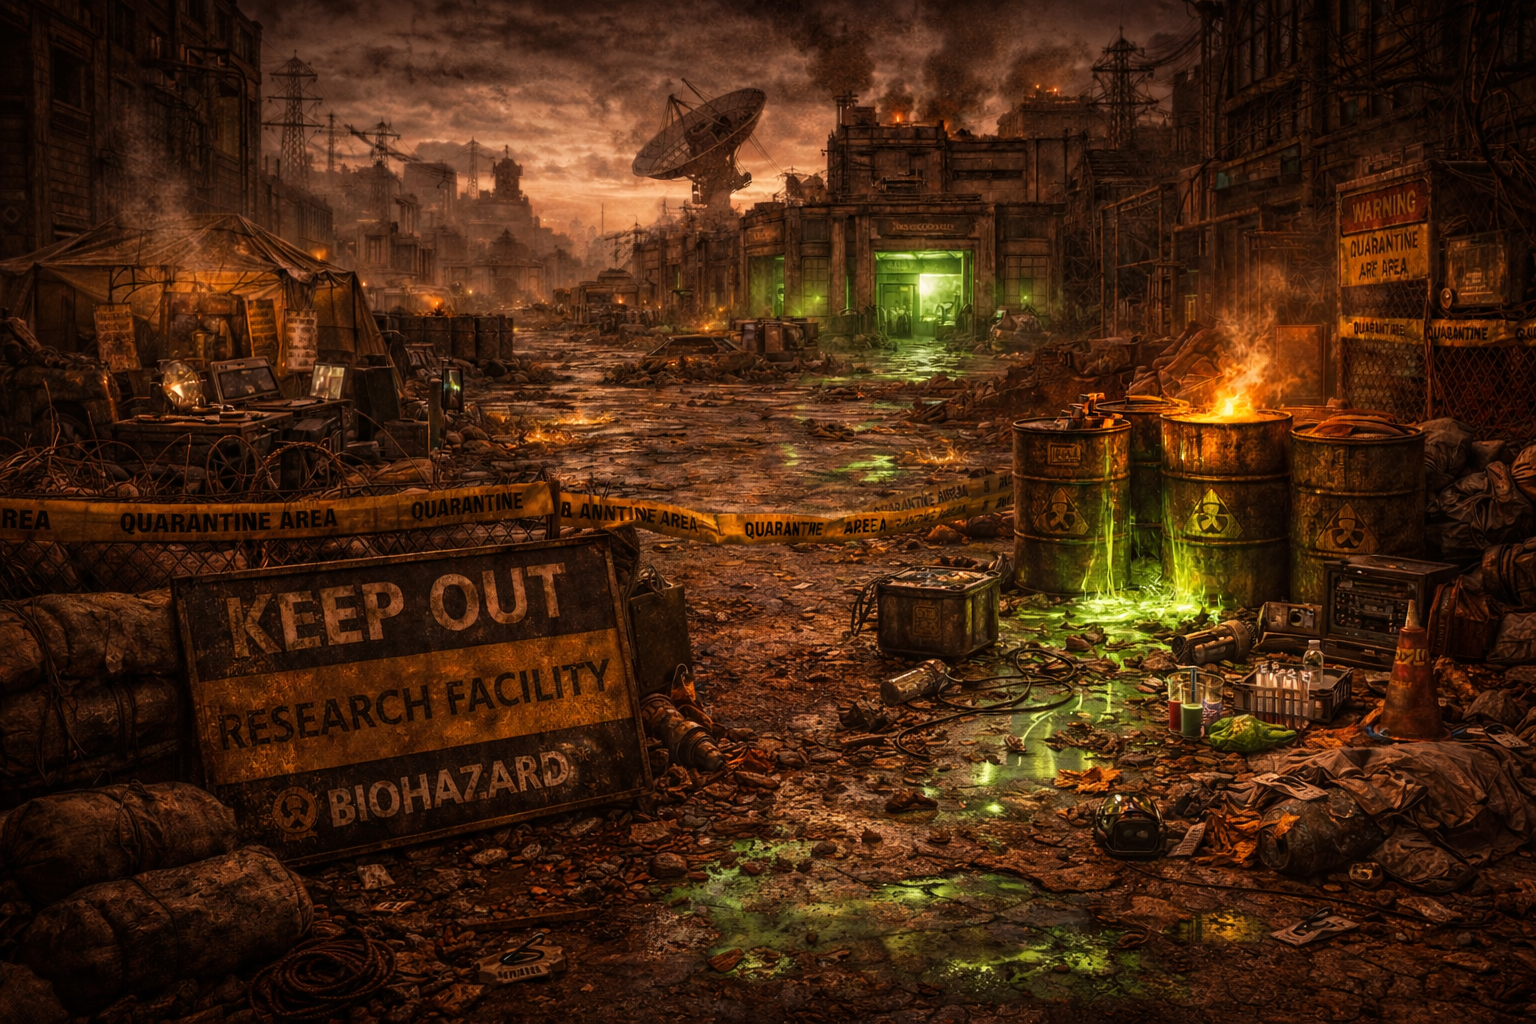
| Enemy archetypes | Religious: mostly Sanctum Zealots. See Combat |
Scavenge objects
- Gathering on a ruins object: 1–3 loot rolls from the district's table.
- Charges: each search uses up a charge. Objects refill over time.
- Hazards and lore: some objects carry hazards, and searching one can uncover lore (Veyr only).
- Full tables: every district's objects, loot chances and hazards are on Ruins & Station Scavenging.
District intel
The district intel window shows what you've learned about a district:
- its enemies, loot objects, POIs, events and hazards;
- your last activity there.
When you enter a new district, an entry panel introduces it.
Why Districts Matter Strategically
District choice changes:
- loot profile and item category density,
- hazard style and attrition type,
- encounter pressure and pacing.
Ruins are not random noise. District selection is target selection.
Reading District Risk Before Committing
Use district identity to predict your failure mode:
- medical/research-style zones can demand stronger condition control,
- industrial/utility zones favor material and component harvesting,
- security-heavy zones often spike combat intensity.
Practical Exploration Pattern
- Scout first and commit second.
- Match district runs to one specific shortage (medicine, materials, combat gear, lore).
- Leave as soon as attrition rate exceeds expected gain rate.
District Rotation Strategy
Do not repeat only one district type forever.
Rotate districts based on shortages:
- supplies low: prioritize practical resource districts,
- healing low: avoid high-attrition districts unless required,
- progression push: target districts aligned to active quest/craft bottlenecks.
Carry Profile by District
Before entering, choose carry profile by district pressure:
- high-hazard district: more healing, less greed capacity,
- high-material district: more carry flexibility, moderate defense,
- high-combat district: stronger combat reliability, controlled weight.
Wrong carry profile causes either early retreat or overexposure.
Common Mistakes
- entering high-pressure districts without recovery stock,
- ignoring district identity and overgeneralizing risk,
- forcing one more search after warning signs appear.
Practical Rule
Enter ruins with a district-specific objective. If your objective changes mid-run, extract and re-stage.
Metropolis Ruins - Specialized Urban Sectors
Each urban district features distinct architecture, localized structural collapse hazards, and targeted scavenging loot tables.