Traps
Traps catch animals and fish while you do other things. Craft a trap, set it on the local map with bait, and come back to check it.
See also Hunting, Fishing, Butchering, Animals and Rafts (raft fishing nets).
Trap types
| Trap | Weight | Recipe | Tools | Catches | Placement |
|---|---|---|---|---|---|
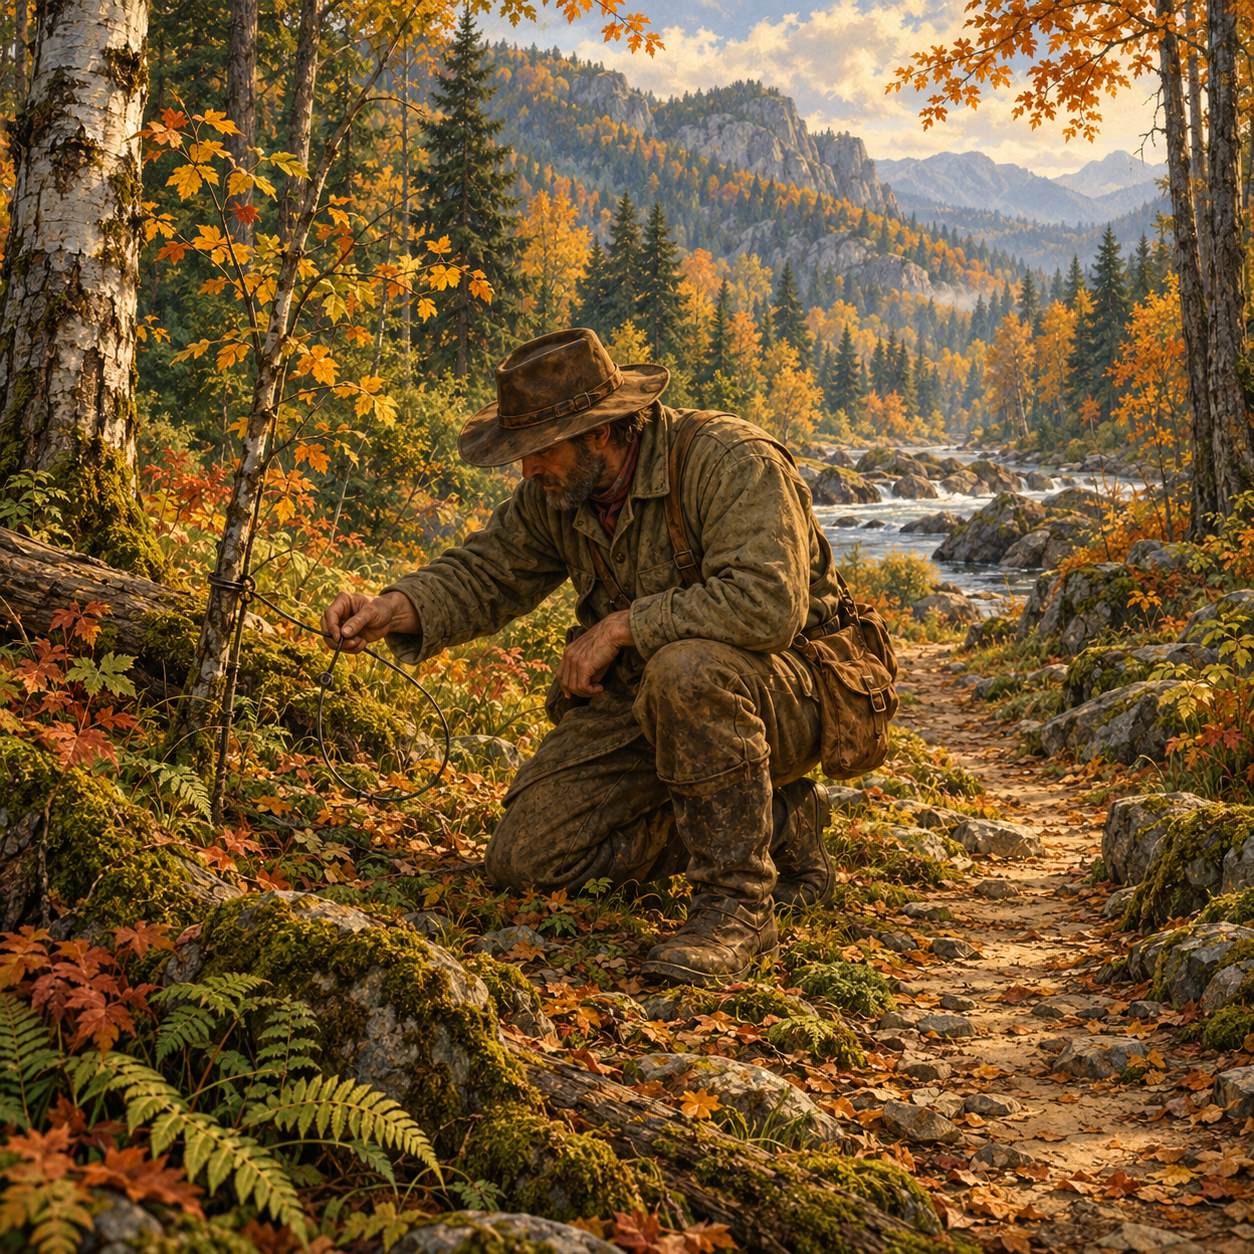
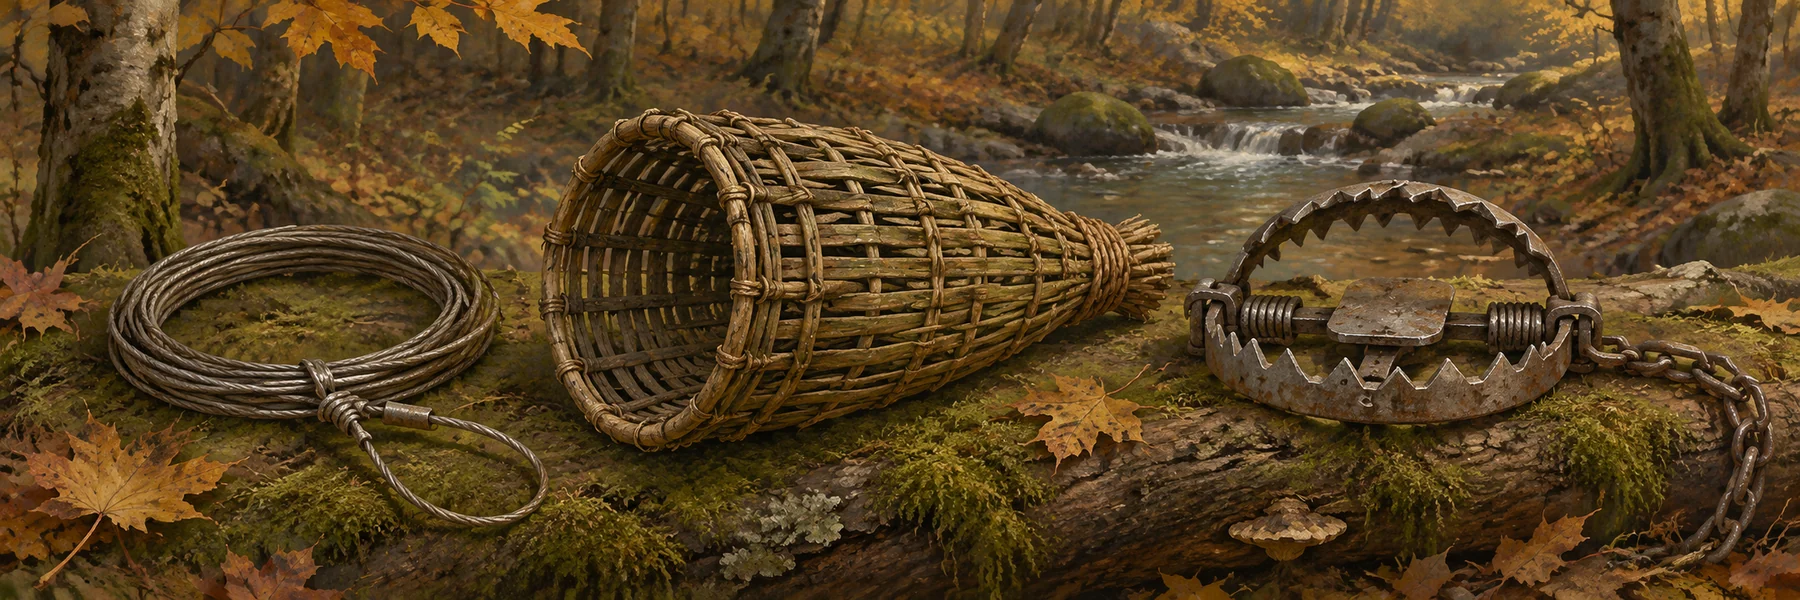
| Snare | 0.35 kg | 1 snare wire use or 1 cordage/paracord | Knife | Small game marked as trappable (rabbits, squirrels, grouse, pheasants…) | Solid ground |
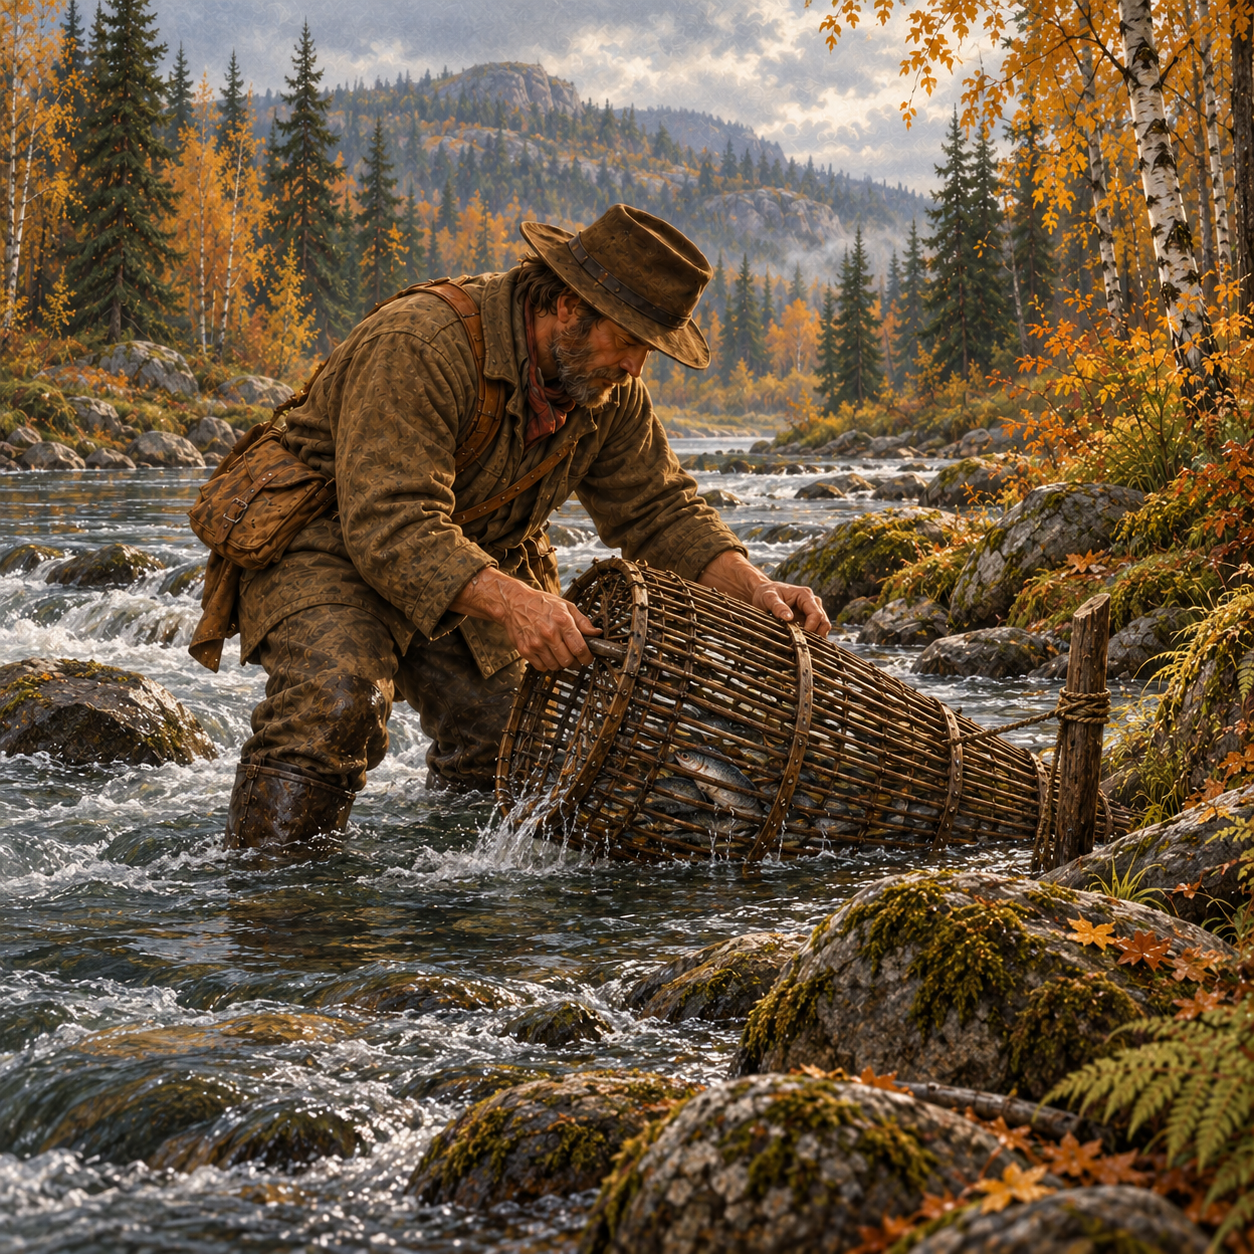
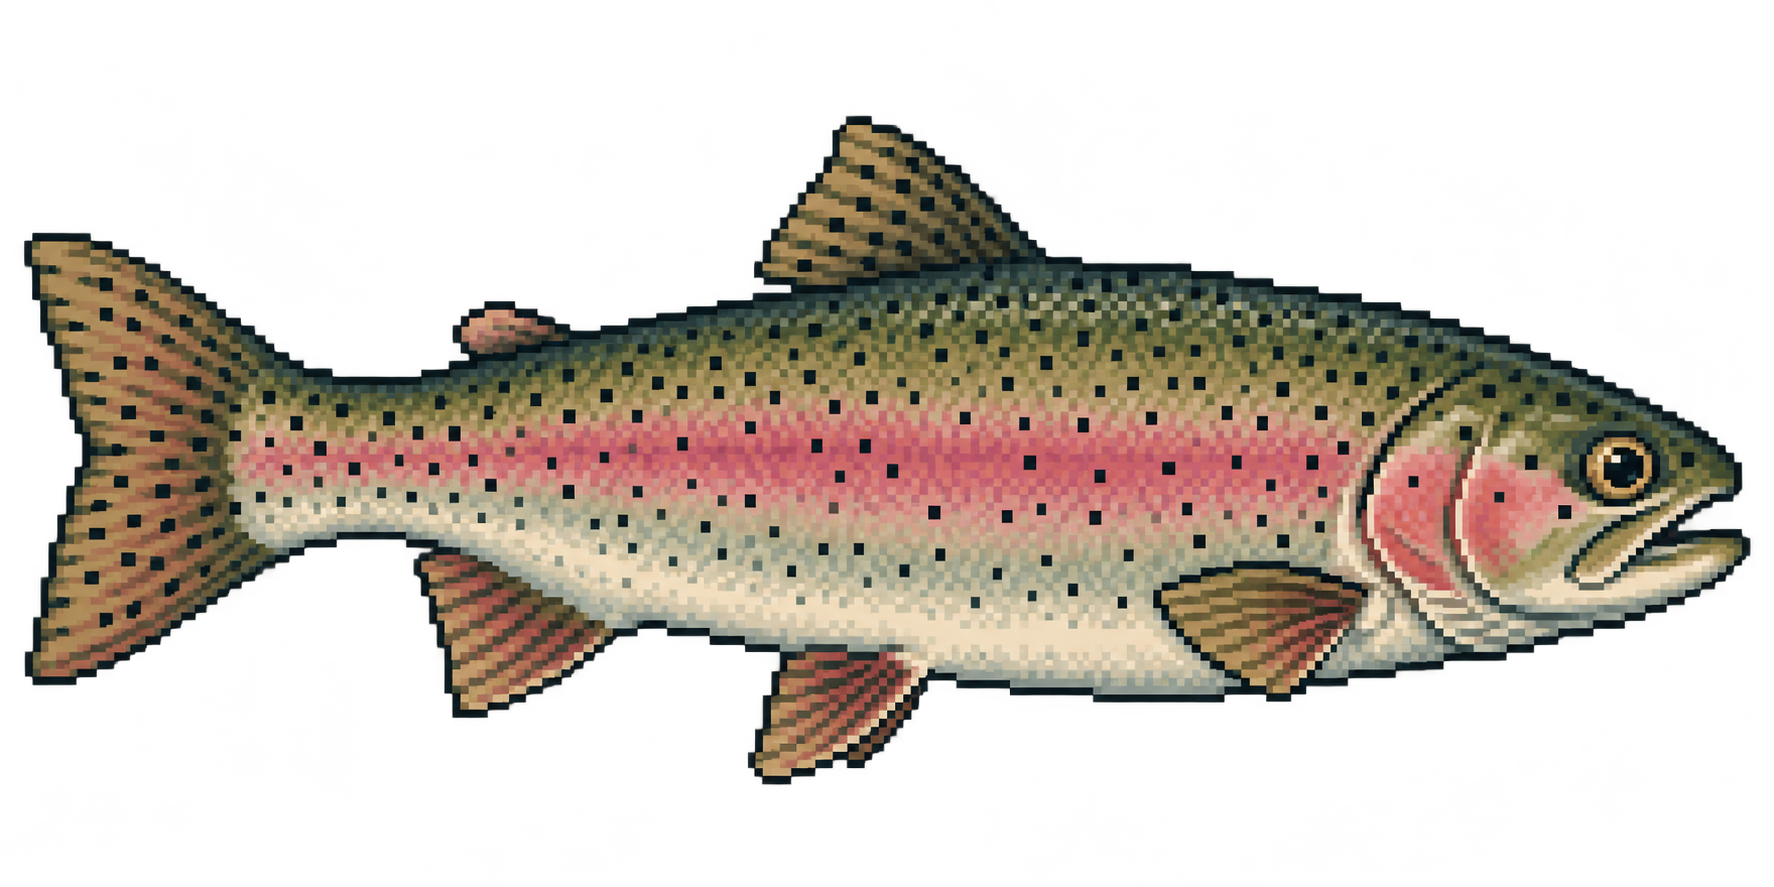
| Fish trap | 1.5 kg | 2 wood, 2 reed fibers, 1 cordage | Knife | Fish from the nearby water | In water |
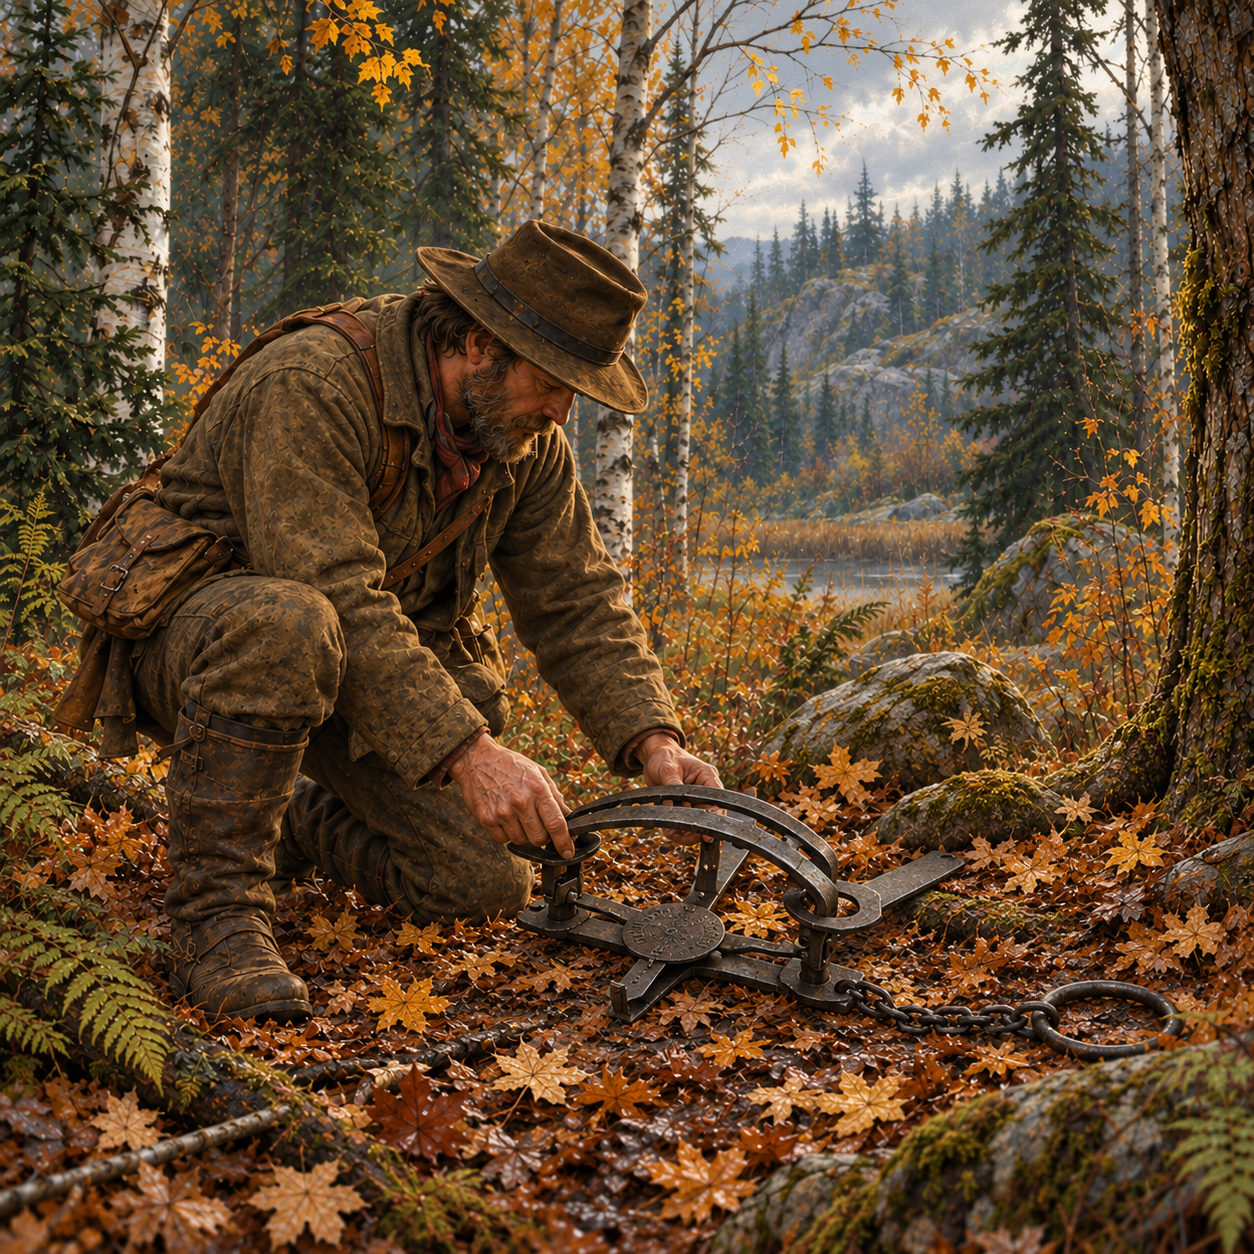
| Big game trap | 3.5 kg | 4 wood, 2 stakes, 2 cordage (or paracord) | Knife + Saw, Hand saw or Hatchet | Deer, boar, moose, elk, bear, wolf | Solid ground |
- Success: each craft rolls for success, like other crafted gear. The chance depends on your skill and condition.
- Base chances: snare 40%, fish trap 42%, big game trap 35%.
- Failure: it can also hurt you.
- Quality: the trap's quality (10–100%) comes from the craft roll. Higher quality catches more.
- Kit: the Trapper loadout starts with 16 snare wire uses. See Loadouts.
Setting a trap
- Choose the trap: use it from your Inventory while on a tile map.
- Pick a spot: choose a cell next to you on the local map.
- Snares and big game traps: need solid, unblocked ground. Forest, brush and grass cells are rated best.
- Fish traps: must go in water.
- One per cell: only one trap per cell.
- Choose a bait from what you carry (optional). It's used up when you set the trap.
- Time: setting takes about 6 minutes.
Bait
| Trap | Bait and catch-chance bonus |
|---|---|
| Snare | Bird eggs +18%, wild grain +16%, grubs +14%, crickets +12%, worms +10%, garden berries +10%, wild berries +8% |
| Fish trap | Minnows +25%, frogs +22%, leeches +18%, grubs +15%, crickets +13%, worms +12%, offal +12%, fish scraps +10% |
| Big game trap | Raw meat +25%, offal +22%, raw fish +16%, wild honey +10%, animal fat +12%, wild berries +8% |
The Bait Guide in the trap setup window shows each bait and how many you carry.
Checking traps
- Where: stand next to the trap on the same tile and choose Check traps (V).
- Cooldown: a full trap round has a 24-hour cooldown. The time and fatigue are paid once per round, and you get a little tracking and crafting XP.
- Each check:
- wears the trap by 1–3 durability;
- has a 30% chance that the bait was taken.
- Animal traps: only catch if an animal is present on the tile.
Catch chances
| Trap | Base chance | Limits | Notes |
|---|---|---|---|
| Snare | 18% + 18% × quality + crafting/500 | 5–70% | × bait, × local wildlife stock (35–100%) |
| Fish trap | 20% + 20% × quality + crafting/600 | 6–70% | × bait, × local fish stock; flooded river ×0.88, frozen river ×0.55 |
| Big game trap | 12% + 15% × quality + crafting/800 + tracking/600 | 2–55% | × bait, × wildlife stock (20–100%); 5% chance it's triggered empty |
The Trap Making fishing specialization raises trap efficiency.
After a catch
- The catch becomes a carcass next to the trap for butchering. Fish can be filleted.
- Re-arming: the trap is sprung and must be re-armed.
- Durability loss: snare −8, fish trap −10, big game trap −18. Big game traps also lose 20–50% quality from the struggle.
- Fish traps have a further 20% chance to break after a harvest.
- Local stock: catches thin out the local wildlife and fish, so rotating spots helps.
- Rewards: big game catches give extra tracking XP. Every catch counts toward hunting achievements and gives 8 score (daily cap 32).
Tips
- Bait every trap. The best bait can add up to +25% catch chance.
- Set a trap line on one tile so a single check round covers them all.
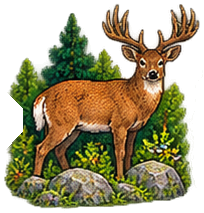
- Big game traps are heavy and slow, but one deer feeds you for days.
- Automation: the Auto-collect traps setting in automated routines can check traps for you.
Deployable Trapping Gear & Passive Harvesters
Trapping allows survivors to gather fresh protein without expending ammunition, requiring regular bait renewal and perimeter inspection before scavengers steal catches.