Railroads Guide
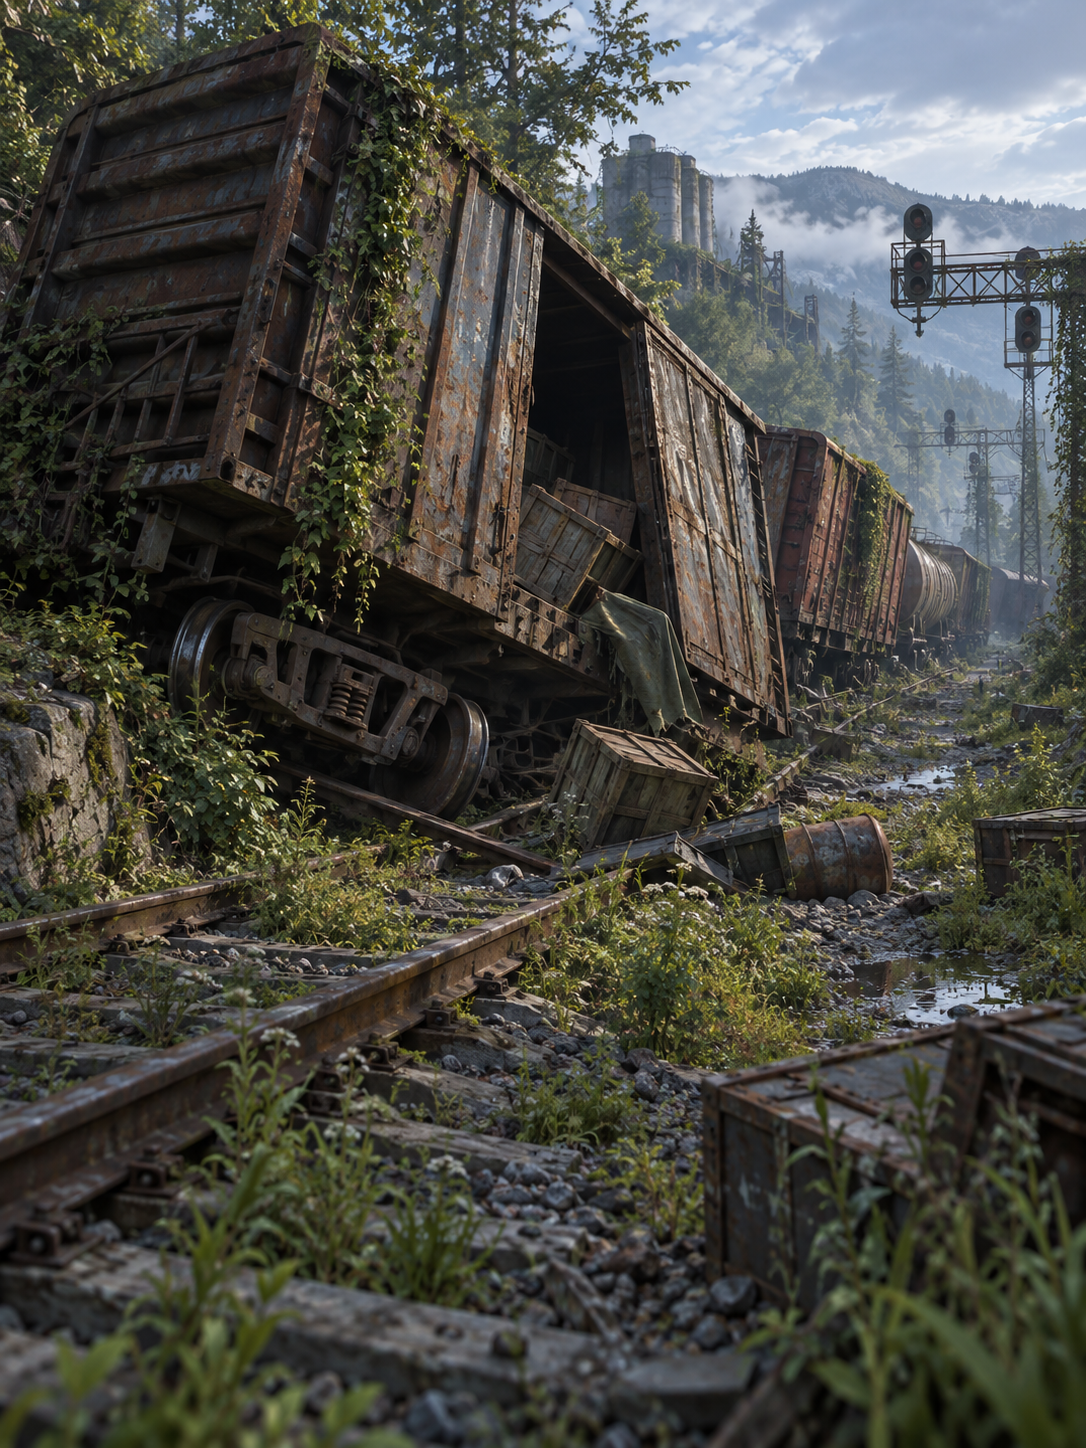
Railroads are high-velocity corridors with uneven danger. They are excellent for directional movement, but only if you respect segment-level risk.
Railroad Micro-Zones
Rail tiles are not all equal. The system uses distinct micro-zones:
main_lineswitch_yardbridge_spancut_tunnel
Each micro-zone shifts encounter pressure, hazard feel, and loot opportunity. Treat rail travel as transitions between mini-biomes, not one uniform road.
| Micro-zone | Loot | Hazard | Encounter pressure | Typical location | Encounter tendencies |
|---|---|---|---|---|---|
| Main Line | ×1.0 | ×1.0 | ×1.0 | Open track | Balanced |
| Switch Yard | ×1.32 | ×0.94 | ×1.15 | Near stations, track junctions | More caravans and patrols |
| Bridge Span | ×0.84 | ×1.26 | ×1.05 | Over rivers, lakes, shores | More bandits |
| Cut Tunnel | ×1.08 | ×1.18 | ×1.22 | Through mountains | Most bandits |
- The neighbouring terrain decides it: a station nearby gives a switch yard, water gives a bridge, mountains give a tunnel.
- Otherwise a fixed per-tile roll picks one.
- A tile's zone never changes.
- Layout: one continuous line runs from edge to edge of the world, 1–2 tiles wide.
- Travel time: ×0.8 (only roads are faster).
How to Travel Rails Safely
- enter rails with stamina and healing buffer,
- slow down in high-pressure segments,
- use stealth crossings where visibility/noise risk rises,
- keep extraction lane in mind before overcommitting.
Do not run rails in autopilot mode.
Loadout Advice for Rail Runs
Bring:
- one layer of emergency healing,
- enough food for delay scenarios,
- controlled carry weight (overload gets punished hard on rail spikes),
- optional utility for quick disengage.
Avoid carrying your entire base-critical resource stack in one railroad run.
Weather and Detection Synergy
Railroads are where movement mode decisions matter most:
- clear weather favors speed but increases visibility pressure,
- rough weather can support stealth passage,
- fatigue plus sprinting through hostile rail lanes is a classic wipe pattern.
When to Use Rails vs Avoid Rails
Use rails when:
- you need predictable direction and faster world linkage,
- you are healthy and tactically ready,
- you can absorb at least one bad encounter.
Avoid rails when:
- injured, overloaded, or low on sustain,
- forced into no-margin timed travel,
- using them as a panic escape route.
Common Mistakes
- treating every rail segment as equal danger,
- sprinting through
bridge/tunnelstyle pressure zones while tired, - entering rails with no exit plan,
- overvaluing speed and undervaluing encounter chaining.